This Bengali Chicken Kosha is a timeless classic dry chicken curry recipe that is richly aromatic with Indian spices. The word ‘kosha’ means the spices and rest of the ingredients have been slow-cooked in their own juices and oil to release most of their aromatics. Often paired with luchis or Bengali pooris, or Basanti Pulao, this chicken kosha is saved for special meals!
In this post, I will tell you exactly what is so special about this ‘kosha’ style of cooking in Bengali cuisine. Then, of course, I will let you in my version of the recipe for Chicken Kosha. You will be surprised to see the amount of oil I have used in this recipe! In this post, I have shared both the ways of making this Bengali chicken kosha recipe in Instant Pot and Stovetop.

This chicken kosha recipe has been derived from the original Kosha Mangsho recipe where the mutton is braised for several hours on a slow heat. This process leads to the cooking of the meat in its own juice and the little moisture it gets from the other ingredients.
Traditionally, the chicken wasn’t considered suitable for consumption by several upper-class Bengali families. It’s been only a couple of decades that the Bengali kitchen or ‘henshel’ has accepted it and as a result of which there has been a flood of Bengali chicken recipes. Being lean meat, the chicken cooks very fast and it is possible to make this traditional recipe for chicken kosha even on a busy weeknight!
This chicken kosha in Bengali style is quite a straightforward recipe. You need some in-bone chicken pieces and a bunch of spices to get this going. It is the preparation of the gravy base for this kosha murgir mangsho that needs some time and patience. The paste of tomato, onion, ginger and garlic is slowly cooked in its own juices, with very little oil and spices until you see the exact amount of oil floating on top.
#BurstingMythsAboutBengaliFood The fiery red gravy, almost threatening to give you a heart attack isn’t actually anything like a villain of a story. It might seem rich and greasy but on the contrary, it is cooked with a surprisingly little amount of oil. The whole magic lies in the technique of slow cooking. The base of the gravy is made using onion, ginger, garlic and tomatoes and it is sauteed over low heat so that it cooks in its juices. In the end, with some elbow grease, you will get the fried gravy with oil floating on the top, indicating that all that effort has finally yielded.
It is this gravy that will give this kosha murgir magsho that enviable look. Bright red in colour and supremely aromatic in terms of its flavours. So, let’s check out the recipe for chicken kosha in Bengali style.
How to make Chicken Kosha recipe – Ingredients list
- Chicken – in-bone pieces
- Whole Spices like Cardamoms, Cloves, Cinnamon, Bay Leaf
- Onion
- Tomatoes
- Ginger & Garlic
- Mustard Oil
- Ghee
- Powdered Spices like Turmeric Powder, Red Chili Powder, Garam Masala Powder
- Salt
- Sugar
Step-by-step instructions on how to make Kosha Murgir Mangsho in Bengali-style using an Instant Pot
- First thing first, clean the chicken pieces. Prep the veggies. Chop the onions, tomatoes and garlic. Grate the ginger.
- Coarsely pound the Whole Spices so that they loosen up a bit. In this way they will release their flavours optimally in the curry
- Plugin the Instant Pot or Nutricook Smart Pot and switch it on. Select the SAUTE MODE and you will see the timer showing 30 mins on the screen. Select the START button. The stainless steel pot inside will slowly heat up and get ready for cooking
- Pour Mustard Oil and once you see it smoking, add the Bay Leaf and the pounded Whole Spices
- As they sizzle, add the chopped ginger and garlic and saute it for a couple of seconds. Then add the finely chopped onion and mix it well. Now, keep stirring this in every few seconds as it turns brown in colour
- Now, add Salt, Turmeric Powder and Red Chilli Powder to it. I have used the Kashmiri Red Chilli Powder here which has vibrant colour but less heat. In case you prefer it spicy, you can use the Degi Mirch Powder variant
- Add the chopped Tomatoes and give it a mix. Again, saute this till you see oil floating on top. If you find this spice mix sticking at the bottom, splash a bit of water and give it a stir. Continue doing this till you get this gravy mix ready
- Then add the chicken pieces and some water for the gravy. Add very little water as chicken is going to release some water as well. We don’t want a runny gravy, but just enough to bring everything together
- Add the Bengali Garam Masala powder and a teaspoonful of Ghee to wrap this thing up.
- Place the Instant Pot lid on and switch the pressure release valve to SEALING Mode.
- Now, press CANCEL and then click PRESSURE COOK mode. Set the timer at 7 mins and press START.
- Once the cooking is done, the pot will ring a tune. Allow it to depressurize on its own, which should take another 20-25 minutes. Then open the lid and check for seasoning. Serve it hot with some Basanti Pulao or Luchis.
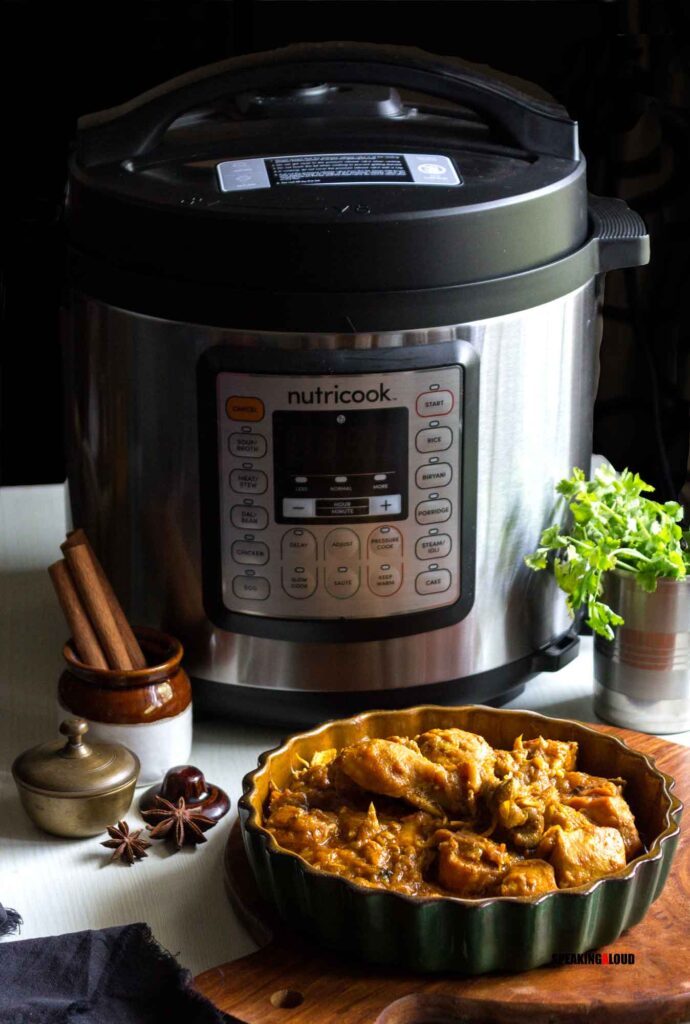
Post-cooking care for an Instant Pot or Nutricook Smart Pot Eko
Once the cooking is done, here are few things that you can do to keep your Instant Pot clean and ready for your next cooking.
- Once the cooking is done and you are ready to serve, remove the lid and empty the stainless steel cooking pot. Switch off the appliance. Check if there are splutters of food on the body of the Instant Pot. Clean it using a damp cloth. Do not use any abrasive material or you will end up scratching the body.
- Remove the silicone sealing gasket in the lid and wash it separately. If you think the gasket smells funky, dip it in a water & white vinegar solution for a couple of hours to deodorize it. Later wash it thoroughly and allow it to dry up.
- Wash the lid thoroughly using a sponge and mild detergent. Allow it to dry first before placing it back on the pot. You can also put this in the dishwasher.
- Wash the stainless steel cooking pot using a sponge and mild soap and allow it to dry.
- Keep the Instant Pot body open for a couple of hours before assembling it to let it air a bit.
Equipments in use
Nutricook Smart Pot Eko | Mixing Bowl | Electric Chopper
How to make this Kosha Murgir Mangsho or Bengali Chicken Curry on a Stove Top?
Traditionally, this Kosha Murgir Mangsho is made in a pot on slow heat. The gravy is allowed to simmer till you get some oil floating on top. Next, all you have to do is drop the chicken pieces and once leave it to simmer. Since chicken cooks relatively quick, a deep pot or casserole pot is perfect to make this chicken kosha.
Instead of using the Instant Pot, use a normal heavy bottom pot and follow the instructions in this recipe. If you are in a hurry, you can use a stovetop pressure cooker as well.
How to serve this Bengali Chicken Kosha recipe?
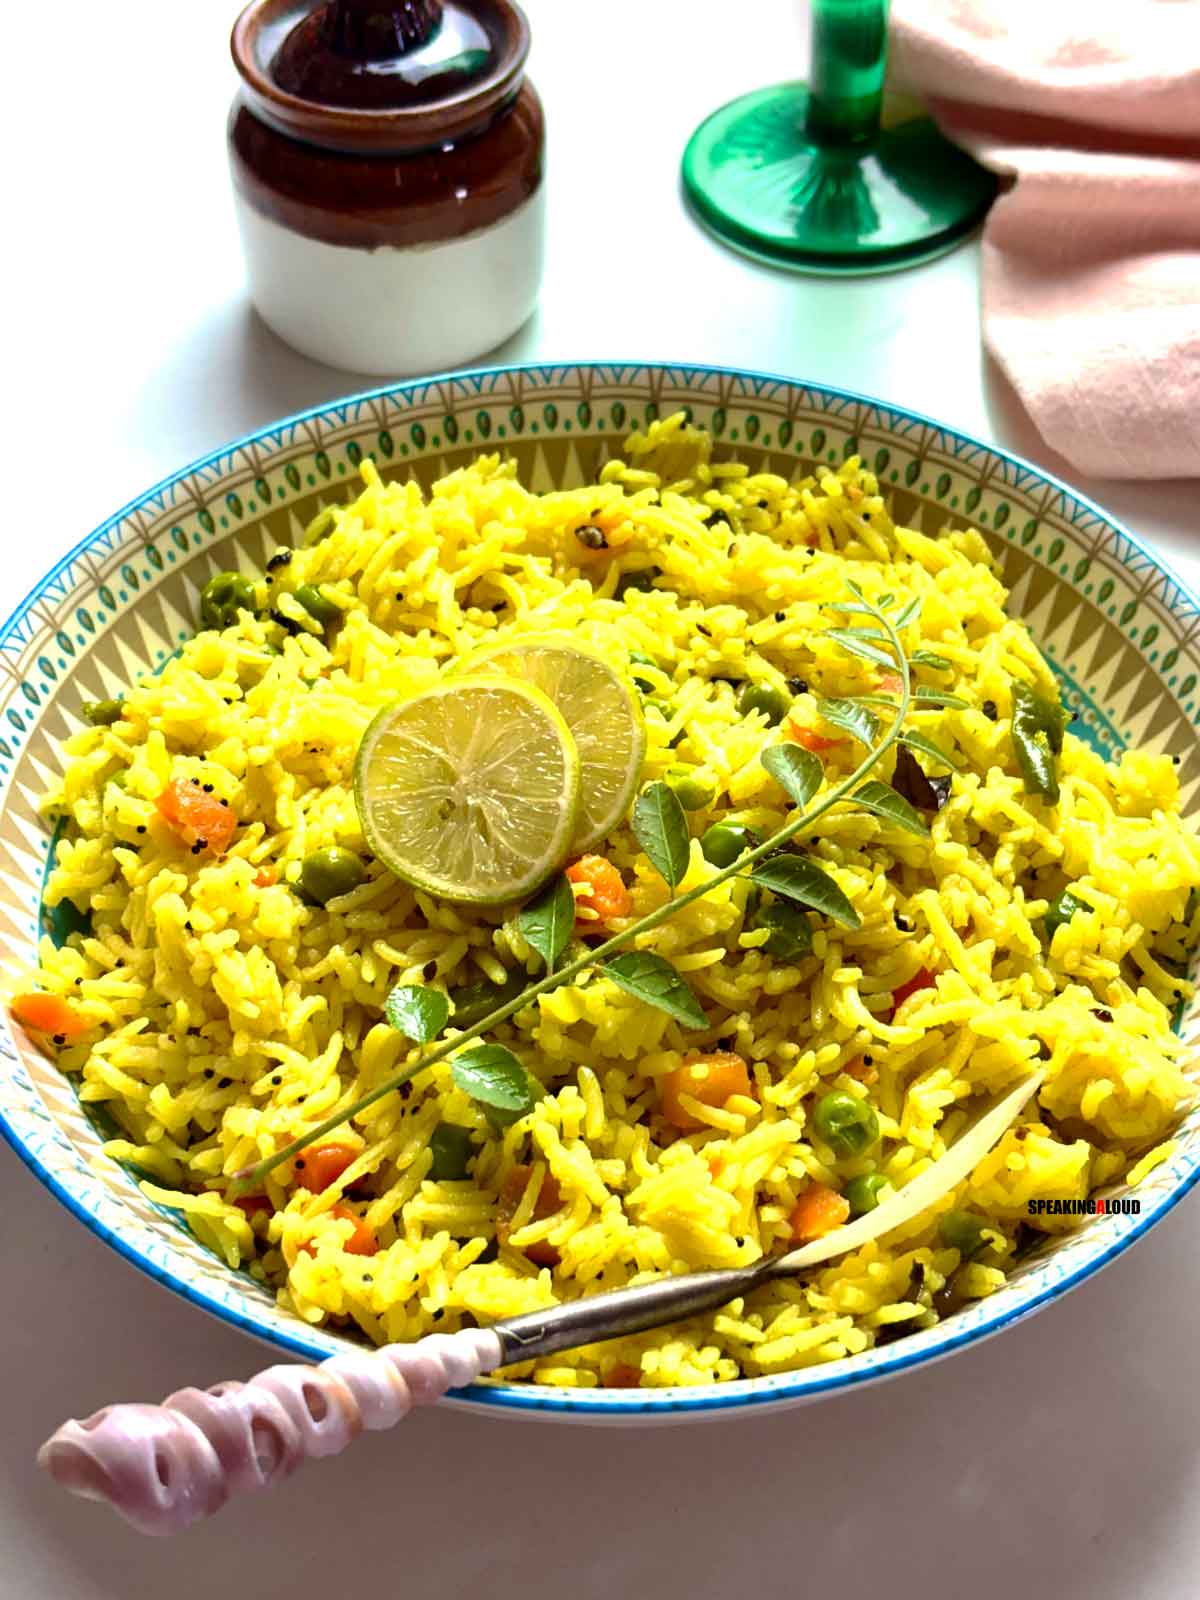
This Kosha Murgir Mangsho isn’t an everyday affair. It is grand, special and often reserved for celebrations. So, in order to do it justice, this kosha mangsho deserves to be served with an equally grand and elegant dish of Basanti Pulao, a special Bengali pulao that is sweet, light and very fragrant. Another way would be Luchis, always a winning combo with Kosha Mangsho.
In case you are looking for, here are few more Chicken recipes from my blog.
- Khada Masala Chicken Curry | Gota Moshla Murgh Recipe
- Simple (BEST) Butter Chicken Recipe | Murgh Makhani
- Chicken Rezala Recipe
- Chicken Korma with Kebabs Recipe [Video Recipe]
- Doodh Chicken Biryani Recipe
- Chicken Pulao Recipe (Instant Pot & Stove Top Method)
- Gravy Chilli Chicken Recipe
- Murgir Jhol | Bengali Chicken Curry Recipe
- Chicken Bharta Recipe
Have you tried this recipe? I would love to hear about it.
Tag me on Instagram @priyankabhattacharya.sa or Facebook @hashdiaries and I will share it further.
Kosha Murgir Mangsho | Bengali Chicken Kosha Recipe
Equipment
- Instant Pot or Nutricook Smart Pot Eko
- Electric Chopper
Ingredients
- 750 gms Chicken – in-bone pieces
- 4 Green Cardamom
- 1 Black Cardamom
- 6 Cloves
- 2 inches Cinnamon
- 2 Bay Leaf
- 4 Onion Medium – Finely Chopped
- 3 Tomatoes Large – Finely Chopped
- 2 inches Ginger Grated
- 8 Cloves of Garlic Finely Chopped
- 4 tbsp Mustard Oil
- 1 tbsp Ghee
- ½ tsp Turmeric Powder
- 1 tsp Red Chili Powder
- ¼ tsp Garam Masala Powder
- Salt to Taste
- 1 tbsp Sugar
Instructions
- First thing first, clean the chicken pieces. Prep the veggies. Chop the onions, tomatoes and garlic. Grate the ginger.
- Coarsely pound the Whole Spices so that they loosen up a bit. In this way they will release their flavours optimally in the curry
- Plugin the Instant Pot or Nutricook Smart Pot and switch it on. Select the SAUTE MODE and you will see the timer showing 30 mins on the screen. Select the START button. The stainless steel pot inside will slowly heat up and get ready for cooking
- Pour Mustard Oil and once you see it smoking, add the Bay Leaf and the pounded Whole Spices
- As they sizzle, add the chopped ginger and garlic and saute it for a couple of seconds. Then add the finely chopped onion and mix it well. Now, keep stirring this in every few seconds as it turns brown in colour
- Now, add Salt, Turmeric Powder and Red Chilli Powder to it. I have used the Kashmiri Red Chilli Powder here which has vibrant colour but less heat. In case you prefer it spicy, you can use the Degi Mirch Powder variant
- Add the chopped Tomatoes and give it a mix. Again, saute this till you see oil floating on top. If you find this spice mix sticking at the bottom, splash a bit of water and give it a stir. Continue doing this till you get this gravy mix ready
- Then add the chicken pieces and some water for the gravy. Add very little water as chicken is going to release some water as well. We don’t want a runny gravy, but just enough to bring everything together
- Add the Bengali Garam Masala powder and a teaspoonful of Ghee to wrap this thing up.
- Place the Instant Pot lid on and switch the pressure release valve to SEALING Mode.
- Now, press CANCEL and then click PRESSURE COOK mode. Set the timer at 7 mins and press START.
- Once the cooking is done, the pot will ring a tune. Allow it to depressurize on its own, which should take another 20-25 minutes. Then open the lid and check for seasoning. Serve it hot with some Basanti Pulao or Luchis.






Leave a Reply